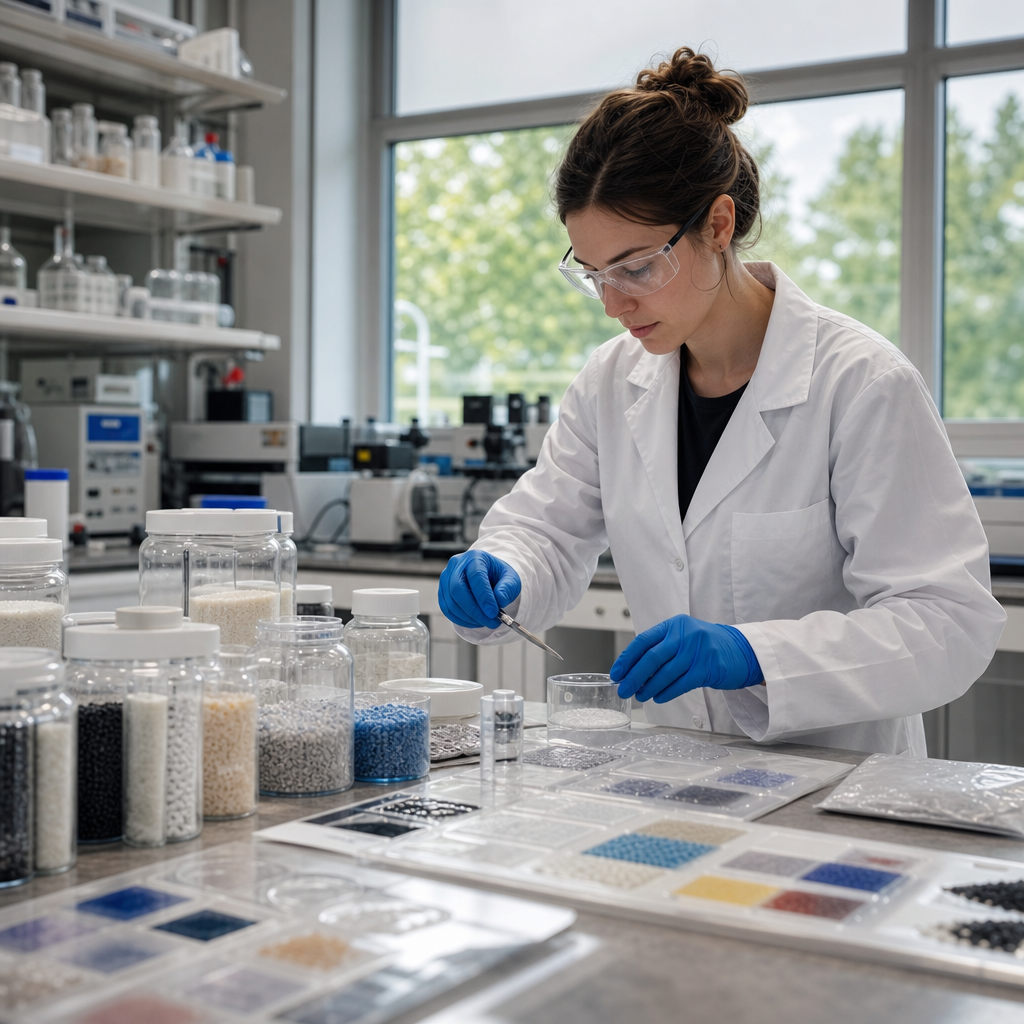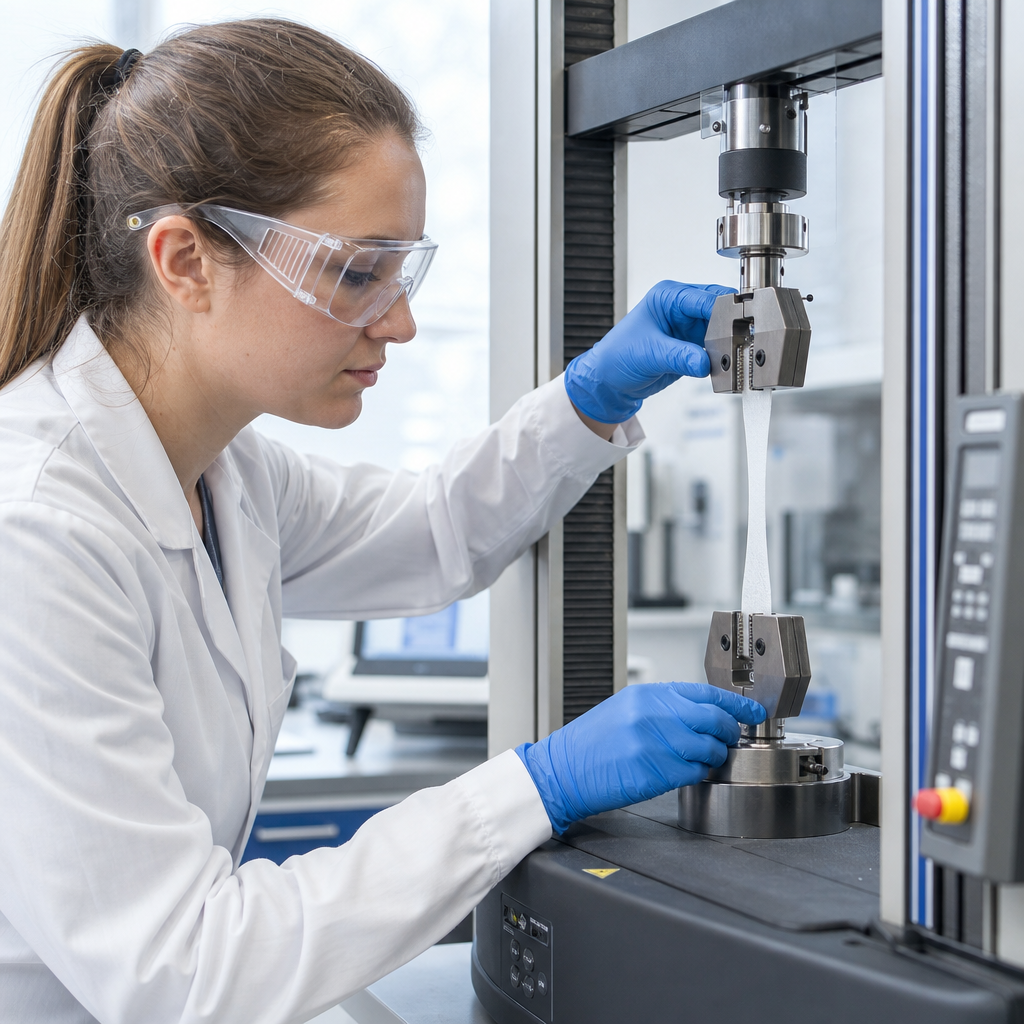
Polymer testing methods determine how plastic materials behave under mechanical load, heat, chemicals, light, and long-term service conditions. In practice, testing turns a resin grade, compound, film, fiber, or molded part from a datasheet promise into verified performance data. I have used these methods in material selection, incoming quality control, failure analysis, and product validation, and the same pattern repeats every time: teams that test systematically make better decisions, waste less material, and reach compliance faster. For an educational resources hub focused on tutorials and guides, this article explains the essential testing workflow, the most common laboratory methods, and the standards that keep results comparable across suppliers, plants, and industries.
A polymer is a material made of long molecular chains, including thermoplastics such as polyethylene and polycarbonate, thermosets such as epoxy, elastomers such as silicone and natural rubber, and many composites that combine polymers with fillers or fibers. Polymer testing is the structured measurement of properties such as tensile strength, modulus, melt flow, glass transition temperature, impact resistance, hardness, flammability, and environmental durability. These tests matter because polymers are sensitive to formulation, processing history, moisture, crystallinity, orientation, and aging. Two parts made from the same nominal resin can perform very differently if drying, molding temperature, or additive package changes. Testing is how engineers detect those differences before they become field failures.
This guide serves as a hub for tutorials and guides by showing how to plan a test program step by step rather than treating each method as an isolated procedure. If a team asks, “Which polymer testing methods should we run first?” the direct answer is this: start with the application requirement, identify the failure mode you need to prevent, select the relevant standard method, prepare representative specimens, control conditioning, run enough replicates, and interpret results in the context of processing and service environment. That sequence sounds simple, but each stage affects data quality. A poor sampling plan, the wrong specimen geometry, or inconsistent humidity conditioning can invalidate an otherwise perfect instrument reading.
Step 1: Define the application, failure mode, and acceptance criteria
The first step in polymer testing is to translate product needs into measurable properties. A bottle closure may need torque retention, stress crack resistance, and food-contact compliance. A medical housing may need sterilization resistance, dimensional stability, and UL 94 flammability performance. An automotive connector may need heat aging, dielectric strength, and low warpage after reflow or under-hood cycling. Without that translation, teams often overtest unimportant properties and miss the ones tied to actual risk.
In my own lab work, the most reliable starting document has always been a requirements matrix. Each row lists a use condition or likely failure mode: brittle fracture after drop impact, creep under constant load, yellowing under UV, softening near service temperature, chemical attack from cleaners, or reduced strength after moisture uptake. Next to each failure mode, assign a test method and a pass/fail threshold. For example, if a snap-fit may crack during assembly, tensile and flexural data alone are not enough; notched Izod or Charpy impact, plus instrumented drop testing on actual parts, gives a more realistic picture.
Acceptance criteria should come from design needs, regulations, customer specifications, or benchmarked field performance. ASTM, ISO, and UL standards provide method structure, but they do not automatically define what result is good enough for your application. A polypropylene with a melt flow index of 12 g/10 min is not inherently better than one at 4; the correct choice depends on wall thickness, cycle time, weld-line strength, and shrinkage behavior. Good test planning therefore separates the method from the decision rule.
Step 2: Select standards, specimens, and conditioning controls
Once requirements are clear, choose standardized methods wherever possible. ASTM D638 and ISO 527 are widely used for tensile properties. ASTM D790 and ISO 178 cover flexural behavior. ASTM D256 and ISO 180 address impact resistance. ASTM D1238 measures melt flow rate. ASTM D2240 covers durometer hardness. ASTM D648 and ISO 75 measure heat deflection temperature, while ASTM D1525 relates to Vicat softening. Thermal analysis often follows ASTM E1131 for thermogravimetric analysis and ASTM E1356 for differential scanning calorimetry. For flammability, UL 94 remains a recognized benchmark in electrical applications.
Specimen selection is a common source of confusion. Test bars molded in a laboratory mold are useful for comparing resin batches under controlled conditions, but they may not capture orientation, knit lines, residual stress, or cooling gradients present in production parts. Machined specimens cut from plaques or molded components often represent service behavior more accurately. Films, fibers, foams, seals, adhesives, and 3D printed polymers may need entirely different geometries and fixturing. The rule is straightforward: use standardized geometry when you need comparability, and use product-representative geometry when you need realism. Many programs need both.
Conditioning is equally critical. Polyamides absorb moisture quickly, and their stiffness and impact behavior can shift dramatically between dry-as-molded and equilibrium-conditioned states. Hygroscopic resins such as PET and nylon can also degrade during processing if not dried properly before molding. Temperature and humidity before testing must therefore be documented and controlled, often using standard atmospheres such as 23°C and 50% relative humidity. If the part will operate at elevated or subzero temperature, include conditioned testing at those levels instead of relying only on room-temperature data.
Step 3: Run the core mechanical and physical tests first
For most polymer evaluations, core mechanical and physical tests establish the baseline. Tensile testing measures modulus, yield strength, ultimate strength, and elongation at break. These values help engineers assess stiffness, ductility, and load-bearing ability. Flexural testing is especially useful for rigid plastics used in housings, covers, and brackets because many real parts see bending rather than pure tension. Impact testing estimates resistance to sudden loading and helps distinguish brittle compounds from tougher grades.
Melt flow rate or melt volume rate is one of the fastest screening tests for thermoplastics. It indicates how easily a polymer flows under specified load and temperature, which makes it useful for incoming inspection and batch consistency. However, melt flow is not a direct predictor of finished-part performance. I have seen processors reject acceptable material because the melt flow shifted slightly while the molecular weight distribution remained within a functional range for the process. Use flow data as a processing indicator, then confirm with mechanical tests and molding trials.
Density, hardness, moisture content, ash content, and dimensional shrinkage also belong in the first round when relevant. Filled polymers often show density changes if glass, talc, or mineral loading drifts. Hardness can reveal cure variation in elastomers or crosslinked systems. Moisture analysis by Karl Fischer titration or loss-on-drying supports both processing control and data interpretation. Simple physical tests rarely answer all performance questions, but they often reveal formulation mistakes faster than advanced methods.
| Test category | What it measures | Common standards or tools | Typical use |
|---|---|---|---|
| Tensile and flexural | Stiffness, strength, elongation | ASTM D638, ASTM D790, ISO 527, ISO 178 | Material selection, design allowables, QC |
| Impact | Resistance to sudden fracture | ASTM D256, ISO 180, drop impact rigs | Snap-fits, housings, packaging |
| Flow and rheology | Melt processability and viscosity behavior | ASTM D1238, capillary rheometer, rotational rheometer | Molding setup, batch comparison, troubleshooting |
| Thermal analysis | Transitions, stability, decomposition | DSC, TGA, DMA, HDT, Vicat | Heat resistance, crystallinity, formulation checks |
| Chemical and aging | Resistance to fluids, UV, oxidation, heat aging | Immersion tests, QUV, xenon arc, oven aging | Service-life prediction, material validation |
Step 4: Add thermal, rheological, and morphological analysis
After baseline mechanical testing, move to methods that explain why the material behaves as it does. Differential scanning calorimetry, or DSC, measures heat flow associated with transitions such as melting and crystallization. It can estimate crystallinity in semicrystalline polymers like polypropylene, nylon, and PEEK, and it can identify whether a sample has been over- or under-annealed. Thermogravimetric analysis, or TGA, tracks mass loss with temperature and helps quantify filler content, moisture, volatiles, and thermal stability. Dynamic mechanical analysis, or DMA, measures storage modulus, loss modulus, and damping as temperature changes, making it one of the best tools for locating glass transition and understanding viscoelastic behavior.
Rheology matters because polymers are processed as melts or reactive liquids, not only as solid parts. A capillary rheometer shows viscosity over a range of shear rates closer to injection molding conditions than melt flow index can provide. A rotational rheometer is useful for thermosets, adhesives, coatings, and compounds where cure behavior, low-shear viscosity, or oscillatory properties matter. If a material burns in the barrel, sags in extrusion, or fails to fill thin walls, rheology usually provides the explanation faster than mechanical testing.
Morphological methods close the loop between structure and properties. Optical microscopy reveals voids, poor dispersion, or gross contamination. Scanning electron microscopy can show brittle fracture surfaces, fiber pullout, weld-line weakness, or filler agglomeration. Fourier transform infrared spectroscopy identifies unknown polymers, oxidation products, and surface contamination. X-ray diffraction can distinguish crystalline forms in some polymers, while gel permeation chromatography helps evaluate molecular weight distribution when degradation or batch inconsistency is suspected. These methods are especially important in failure analysis, where a single crack or discoloration may have multiple possible causes.
Step 5: Evaluate chemical resistance, weathering, and long-term durability
Short tests alone do not predict field life. Many polymers pass initial mechanical requirements and still fail after months of exposure to stress, fluids, sunlight, or heat. Chemical resistance testing usually starts with immersion or surface exposure to fuels, oils, cleaners, acids, bases, or pharmaceutical agents relevant to the use case. Measure mass change, dimensional change, appearance, hardness, and retained strength after exposure. Environmental stress cracking resistance is crucial for polyethylene, polypropylene, ABS, and other plastics exposed to detergents or aggressive liquids while under load.
Weathering tests use UV fluorescent lamps or xenon arc exposure to simulate sunlight, moisture, and temperature cycling. These methods accelerate damage mechanisms such as chain scission, oxidation, chalking, embrittlement, and color shift, but they do not reproduce every real climate equally. That is why experienced labs correlate chamber data with outdoor exposure when possible. Thermal aging in ovens, cyclic humidity testing, and freeze-thaw protocols add further insight for products used outdoors, in transportation, or in appliances.
Creep and fatigue deserve special attention because polymers are viscoelastic. A part can survive a one-time load in a tensile test and still deform permanently under a lower constant load over time. Similarly, repeated flexing may initiate cracks well below the static failure limit. For clips, hinges, seals, and structural components, long-term loading data often matters more than peak strength. Stress relaxation is equally important for gaskets and fastener retention. These durability methods take longer, but they prevent some of the costliest field failures.
Step 6: Interpret results, compare materials, and document decisions
Interpreting polymer test data requires context. Results vary with specimen orientation, thickness, notching, strain rate, humidity, and temperature. A “stronger” polymer on a tensile chart may be less suitable if it is too brittle, too dense, harder to mold, or vulnerable to chemicals in the actual environment. Compare materials using property profiles instead of single numbers. For example, polycarbonate offers excellent impact resistance, but acrylic provides better optical clarity and scratch resistance; nylon can deliver high strength, but moisture uptake changes dimensions and stiffness; PBT may mold more easily than PET in some electrical parts because it is less sensitive to hydrolysis during processing.
Use statistics, not anecdotes. At minimum, review average values, standard deviation, sample count, and outliers. Gauge repeatability and reproducibility studies are worth performing when multiple operators or labs are involved. If supplier data and in-house data disagree, investigate differences in specimen source, conditioning, and test speed before assuming one set is wrong. In regulated sectors, traceable raw data, calibration records, and revision-controlled reports are not optional. Good documentation turns test results into decisions that design, quality, purchasing, and customers can trust.
As a hub for tutorials and guides, this article should point readers toward deeper study in tensile testing, thermal analysis, rheology, weathering, failure analysis, and standards selection. The core lesson is consistent across all of them: polymer testing methods work best as a sequence, not a checklist. Define the application, choose the right standards, prepare representative samples, control conditioning, run baseline tests, add analytical methods to explain behavior, and validate durability under realistic exposure. Follow that structure and you will select materials more confidently, troubleshoot faster, and reduce expensive surprises in production and service. Use this guide as your starting framework, then build a test plan around the exact risks your polymer part must survive.
Frequently Asked Questions
1. What are polymer testing methods, and why are they so important?
Polymer testing methods are the standardized procedures used to measure how a plastic material, compound, film, fiber, or finished part behaves under specific conditions. In practical terms, these methods help engineers and quality teams move beyond supplier datasheets and confirm how a material actually performs in the real world. Testing can evaluate mechanical properties such as tensile strength, impact resistance, and flexural modulus; thermal behavior such as melting point, heat distortion, and thermal stability; chemical resistance to oils, solvents, and cleaning agents; optical performance; weathering durability; and long-term aging under stress, heat, moisture, or UV exposure.
The reason polymer testing matters so much is simple: plastics are highly sensitive to formulation, processing, environment, and time. Two materials that look similar on paper can behave very differently once molded, exposed to outdoor light, or placed under repeated load. A datasheet is usually based on controlled laboratory conditions, often using ideal specimen geometry and a specific processing history. Your actual product may be injection molded at different temperatures, contain colorants or fillers, or operate in harsher service conditions. Testing verifies whether the selected material still meets requirements after all of those variables are introduced.
Systematic polymer testing supports better decision-making at every stage of a product lifecycle. During material selection, it helps compare candidate resins based on meaningful performance data. In incoming quality control, it confirms lot-to-lot consistency and flags off-spec material before it reaches production. In failure analysis, it helps identify whether a crack, deformation, or discoloration came from poor material choice, contamination, processing errors, or environmental attack. In product validation, it demonstrates that the part can survive actual use conditions with an acceptable safety margin. In short, polymer testing reduces waste, shortens troubleshooting, improves reliability, and gives teams confidence that the material will perform as intended.
2. What are the main categories of polymer testing, and what does each one measure?
Most polymer testing programs are built around a few major categories, each answering a different question about material behavior. Mechanical testing is one of the most common. It measures how a polymer responds to applied force. Tensile testing evaluates strength, elongation, and stiffness under pulling forces. Flexural testing measures resistance to bending. Compression testing is useful for foams and structural parts loaded in compression. Impact testing, such as Izod or Charpy, helps determine how brittle or tough a material is when struck suddenly. Hardness tests provide a quick indication of surface resistance to indentation.
Thermal testing looks at how polymers respond to heat and temperature changes. Differential scanning calorimetry, or DSC, can identify melting behavior, crystallization, and glass transition. Thermogravimetric analysis, or TGA, measures weight loss as temperature rises, which helps assess thermal stability and filler content. Heat deflection temperature and Vicat softening point indicate how a material behaves under load or penetration at elevated temperature. Dynamic mechanical analysis can provide a deeper understanding of stiffness and damping over a temperature range, which is especially useful for design in variable thermal environments.
Chemical and environmental testing evaluates resistance to solvents, fuels, acids, bases, cleaners, humidity, and other service exposures. Some polymers perform well mechanically but degrade quickly when exposed to the wrong chemical. Environmental stress cracking tests are particularly important for materials used in packaging, medical devices, consumer products, and automotive components. Weathering and UV testing simulate outdoor exposure using controlled light, heat, and moisture cycles to predict discoloration, embrittlement, chalking, or strength loss over time.
Physical and rheological testing focuses on properties related to processing and structure. Melt flow rate or melt index provides a practical measure of how easily a polymer flows during molding or extrusion. Density testing can help verify grade identity or filler content. Moisture content is critical for hygroscopic polymers such as nylon or PET. Dimensional stability, shrinkage, and warpage testing show how a polymer behaves after molding and during service. For films and packaging, barrier testing may measure oxygen or water vapor transmission. Taken together, these categories give a full picture of whether a material is easy to process, consistent to manufacture, and suitable for the final application.
3. How do you choose the right polymer tests for a specific application?
The best way to choose polymer tests is to start with the part’s actual function, service environment, and failure risks rather than selecting tests just because they are common. A good testing plan begins by asking a few practical questions: What loads will the part see? Will it be bent, stretched, dropped, or exposed to impact? What temperatures will it experience during use, storage, and assembly? Will it contact chemicals, oils, moisture, UV light, or cleaning agents? Is the part cosmetic, structural, flexible, transparent, or electrically sensitive? Once those use conditions are clear, the test list becomes much easier to define.
For example, if you are selecting a polymer for a snap-fit housing, tensile, flexural, and impact testing may be essential because the part must handle repeated deflection without cracking. If the part will sit near an engine or electronics enclosure, thermal testing such as heat deflection temperature, DSC, and long-term heat aging becomes more important. If the product is a bottle, tube, or medical component exposed to disinfectants or solvents, chemical resistance and environmental stress cracking tests should be prioritized. For outdoor applications, accelerated UV and weathering tests are often critical because some polymers lose toughness or color quickly under sunlight.
It is also important to distinguish between screening tests and validation tests. Screening tests are used early to compare candidate materials quickly and cost-effectively. Validation tests are more application-specific and are typically run on final geometry, final processing conditions, and final assembly state. A material may look strong in standard coupon testing but still fail in the finished part because of weld lines, residual stress, orientation, or thin-wall effects. That is why experienced teams usually combine standard material tests with part-level or assembly-level testing.
Whenever possible, align your methods with recognized standards such as ASTM or ISO so results can be compared and repeated reliably. Just as important, define the acceptance criteria before testing begins. A test is only useful if you know what result counts as a pass, a warning sign, or a failure. The most effective polymer test plans are focused, application-driven, and tied directly to engineering decisions.
4. What is the typical step-by-step process for polymer testing from sample preparation to interpreting results?
A disciplined polymer testing workflow usually follows a repeatable sequence, and that repeatability is what makes the data valuable. The first step is to define the objective. Are you comparing candidate materials, verifying a supplier lot, investigating a failure, or validating a final part? The objective determines which tests matter, how many samples are needed, and how tightly the conditions must be controlled. Without a clear purpose, teams often collect data that is interesting but not actionable.
The second step is sample selection and preparation. This stage is more important than many people realize because polymer properties are heavily influenced by processing history. Test specimens may be injection molded, machined from plaques, cut from films, or taken directly from finished parts. Conditioning is also critical. Some materials absorb moisture, some relax internal stress over time, and some change properties depending on temperature and humidity. Standards often specify specimen dimensions, conditioning time, and environmental conditions so the test result reflects the property being measured rather than uncontrolled variation.
The third step is choosing the correct standard method and test parameters. That includes machine settings, loading rate, temperature, fixture geometry, span length, specimen orientation, and number of replicates. For a tensile test, for instance, gauge length, crosshead speed, and specimen type all affect the outcome. For thermal testing, heating rate and atmosphere can change the interpretation. This is why standards matter so much: they reduce ambiguity and make results comparable across labs, suppliers, and projects.
The fourth step is running the test and documenting everything carefully. Good records should include material identification, lot number, specimen source, processing conditions, conditioning history, operator, equipment used, calibration status, and environmental conditions during testing. If results later look unusual, that documentation often reveals the cause. After testing, the next step is data analysis. Look beyond a single average value. Review variation, standard deviation, outliers, failure mode, and whether the results make sense physically. A polymer that shows acceptable average strength but large scatter may still be a poor production choice.
The final step is interpretation in the context of the application. This is where testing becomes decision-making. Ask whether the measured property clears the design requirement with enough margin, whether the result is stable across lots, and whether any tradeoffs appear. A material with better impact resistance may have worse chemical resistance or lower stiffness. A higher-flow grade may process more easily but lose mechanical performance. Strong polymer testing programs do not stop at numbers; they translate those numbers into selection, quality, troubleshooting, and design actions.
5. What are the most common mistakes in polymer testing, and how can they be avoided?
One of the most common mistakes is assuming a supplier datasheet is enough. Datasheets are useful starting points, but they are not substitutes for application-specific testing. They typically reflect idealized conditions, standard specimen shapes, and a narrow set of measured properties. Real products may experience different processing histories,